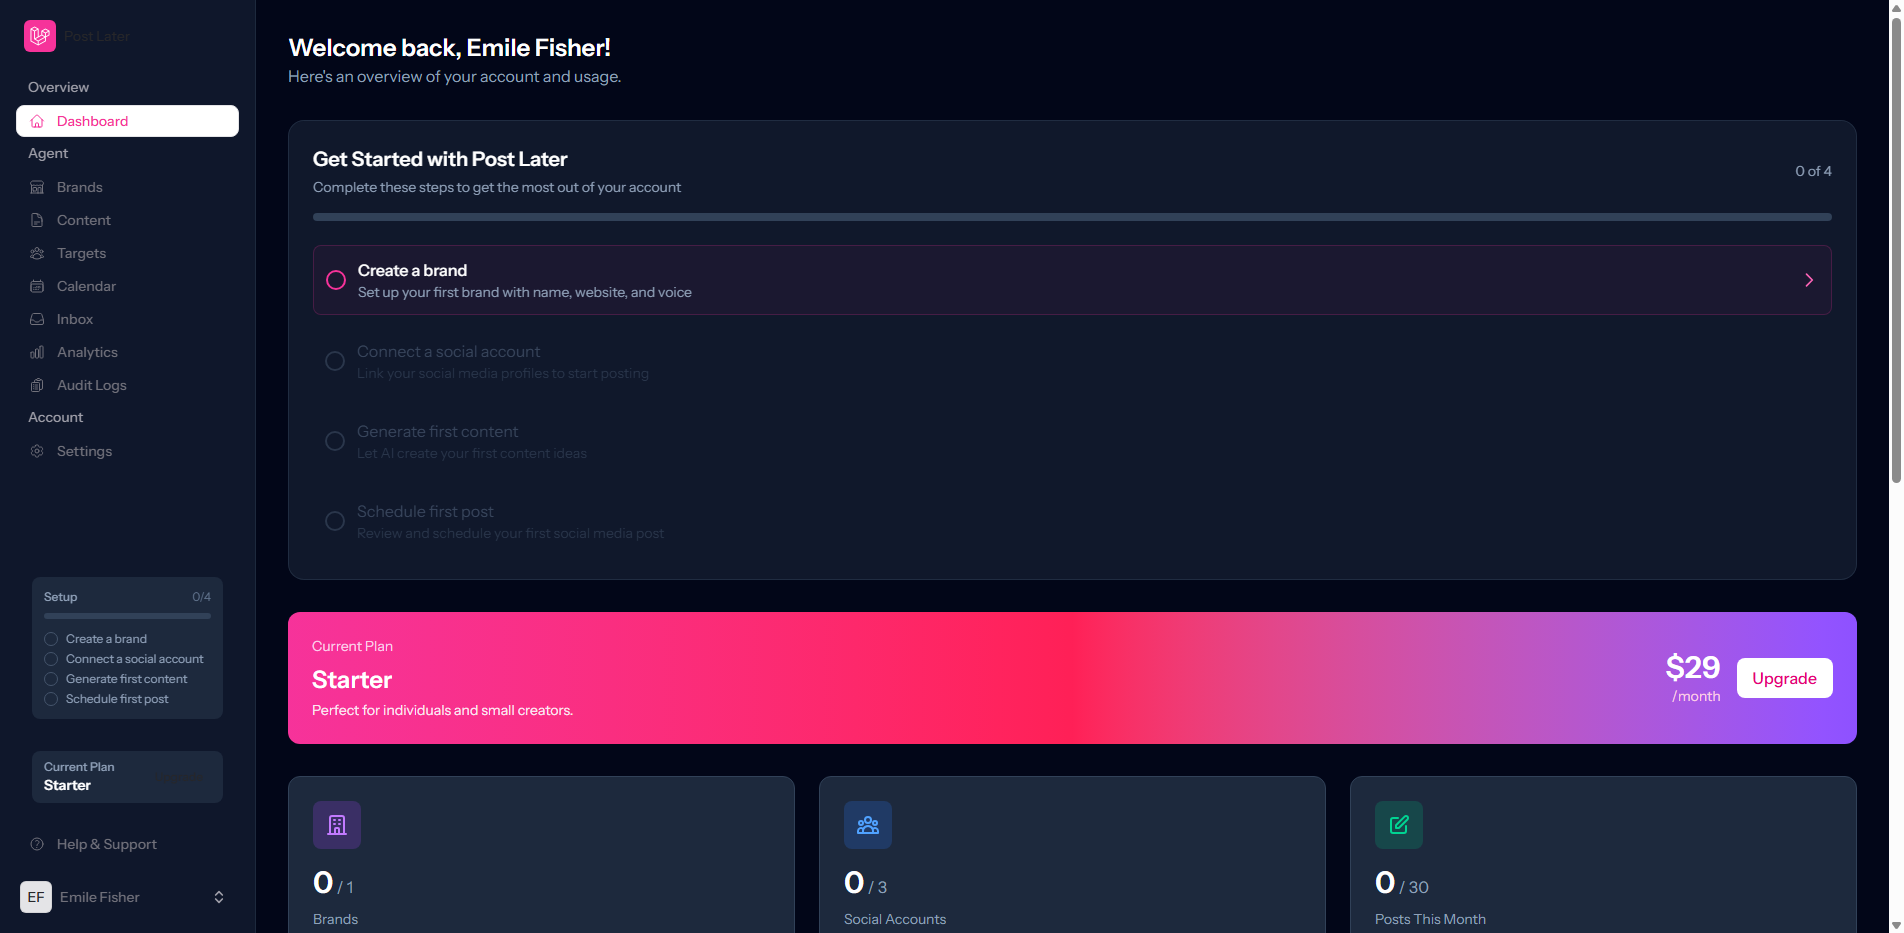
Welcome to Post Later
Post Later is designed for marketers, agencies, and business owners who want to spend less time posting and more time growing. Whether you're managing one brand or ten, our platform gives you a central place to plan, create, schedule, and analyse all your social media content.
Getting set up takes less than ten minutes. Here's how.
Step 1: Create Your Brand
Everything in Post Later is organised around brands. A brand represents a business, client, or project and holds all the connected social accounts, content, and analytics for that entity.
Navigate to Settings → Brands and click Add Brand. Give it a name, upload a logo, and set your brand's time zone so your scheduled posts go out at exactly the right local time.
Step 2: Connect Your Social Accounts
Once your brand is created, connect your social platforms. Post Later currently supports Instagram, Facebook Pages, LinkedIn, and X (Twitter). Each connection uses OAuth, so your credentials are never stored on our servers.
Head to Settings → Connected Accounts, select your brand, and click the platform you want to connect. Follow the authorisation prompts, and you're done.
Step 3: Create and Schedule Your First Post
Click New Post from your dashboard. You'll see a rich composer where you can:
- Write your caption and customise it per platform
- Upload images or videos
- Add a link and preview how it will render
- Choose your publish date and time
- Select which connected accounts should receive the post
Hit Schedule and Post Later takes it from there.
Step 4: Monitor Your Publishing Calendar
Your publishing calendar gives you a week-at-a-glance view of everything queued up across all platforms. Drag posts to reschedule them, click any post to edit it, or use the bulk actions menu to manage multiple posts at once.
That's it. You're ready to go. If you have questions at any point, our help centre and in-app chat are here to help.